✨ Made with Daftpage
Ledger.com/start – An 800-Word Beginner’s Guide to Setting Up Your Ledger Hardware Wallet
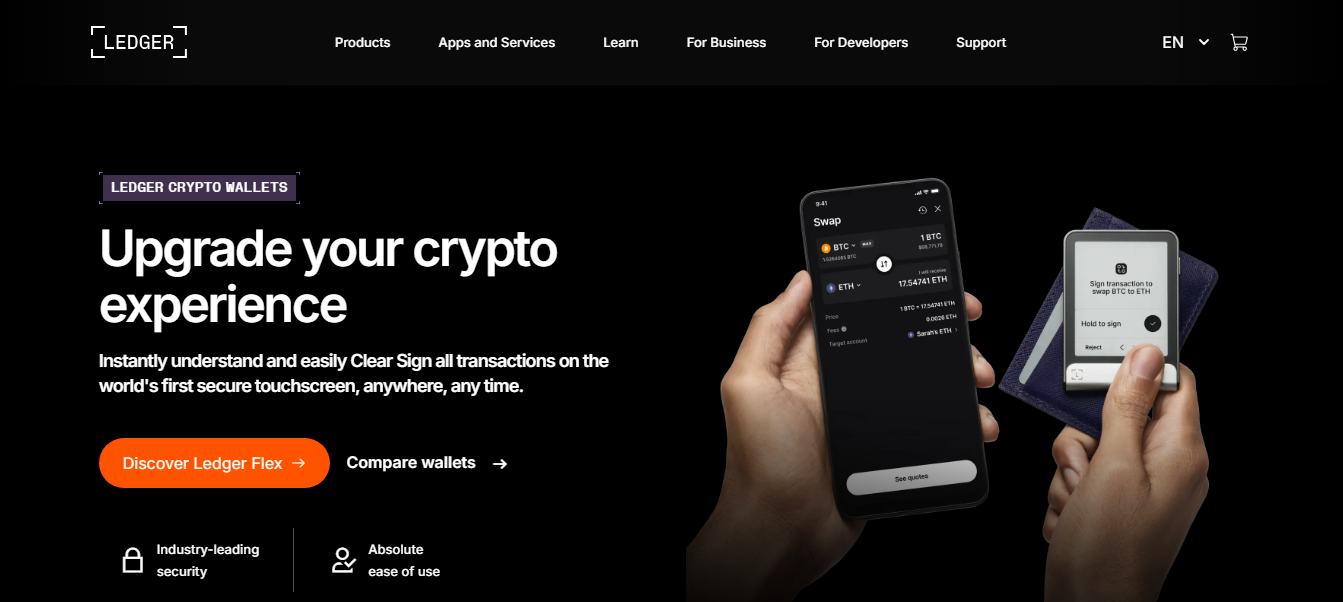
Cryptocurrency investments are becoming more common, but so are online scams and hacking attempts. Because of this, many people prefer using a hardware wallet to store their digital assets safely. Ledger, one of the most trusted names in crypto security, offers hardware wallets like the Ledger Nano S Plus and Ledger Nano X. If you recently purchased one, the first and most important step is to visit Ledger.com/start, the official setup page for all Ledger devices.
This guide explains in clear and simple language what Ledger.com/start is, how it works, and how you can set up your Ledger wallet securely.
What Is Ledger.com/start?
Ledger.com/start is the official setup portal created by Ledger. It provides:
Safe download links for the Ledger Live app
Step-by-step instructions for setting up your device
Security guidelines for beginners
Tips to manage and protect your crypto
Troubleshooting help
Many fake websites try to imitate Ledger’s official pages. That’s why Ledger.com/start is so important—it ensures you’re getting correct, safe instructions directly from Ledger.
Why It’s Important to Use the Official Ledger Start Page
When it comes to cryptocurrency, security begins with the right information. Using the official setup page gives you several advantages:
✔ Trusted Downloads
You’ll find the correct version of Ledger Live without worrying about malware or fake software.
✔ Clear Device Setup Instructions
The page guides you step-by-step so even beginners can set up a hardware wallet easily.
✔ Safety Warnings and Tips
It teaches you how to protect your recovery phrase, avoid phishing, and keep your crypto safe.
✔ Support and Resources
You can access tutorials, FAQs, and help articles directly from Ledger.
Step-by-Step Setup Guide Using Ledger.com/start
Setting up your Ledger wallet may look complicated at first, but Ledger.com/start breaks it into simple steps. Here’s an easy explanation of the process:
Step 1: Open Ledger.com/start
Begin by typing Ledger.com/start into your browser manually.
Avoid clicking unknown links or advertisements.
Make sure the page is secured with https:// and displays the official Ledger branding.
Step 2: Download the Ledger Live App
Ledger Live is the main software you’ll use to:
Add crypto accounts
Check your balances
Send and receive crypto
Install apps on your device
Manage your portfolio
Ledger Live works on:
Windows
macOS
Linux
Android
iOS (limited features)
Download the version for your device and install it.
Step 3: Choose Your Ledger Device
Once you open Ledger Live, click “Get Started”.
It will ask you to select your device:
Ledger Nano X
Ledger Nano S Plus
Ledger Flex
Choose the correct model and then select “Set up a new device” if it is brand new.
Step 4: Set Up Your Ledger Hardware Wallet
This is where the actual wallet configuration begins.
1. Set Your PIN Code
Your device will ask you to create a PIN (4–8 digits).
This PIN unlocks your wallet when you plug it in.
Keep your PIN private and avoid using easy-to-guess combinations like 0000 or 1234.
2. Write Down Your Recovery Phrase
Next, your device will display a 24-word recovery phrase.
This phrase is the master key to your crypto wallet.
Important rules for safety:
Write the words exactly as shown
Use the recovery sheet included in the box
Never take a photo
Never save the words on your phone or computer
Never share them with anyone
Store them in a safe, offline location
If you lose these words, your crypto cannot be recovered.
If someone else gets them, they can access your crypto.
Your device will ask you to confirm the words to ensure they are written correctly.
Step 5: Connect Your Device to Ledger Live
Once the device is set up, plug it into your computer or phone.
Unlock it with your PIN.
Ledger Live will verify the authenticity of your hardware wallet using a genuine check. This ensures your device is original and hasn’t been tampered with.
Step 6: Install Crypto Apps
Each cryptocurrency has a specific app that must be installed on your device.
Examples:
Bitcoin → Bitcoin app
Ethereum → Ethereum app
Polkadot → Polkadot app
You can install apps through Ledger Live by going to “My Ledger”.
Even though your device has limited storage, uninstalling an app does not remove your crypto. Your assets stay safe on the blockchain.
Step 7: Add Crypto Accounts in Ledger Live
Adding accounts allows you to manage specific coins.
Go to:
Accounts → Add Account → Select Crypto → Continue
Follow the instructions on the screen and your Ledger device.
Once added, you can send, receive, stake, or simply hold your crypto securely.
Safety Tips to Remember
Using a Ledger wallet greatly increases your security, but you must follow safe practices:
Only visit Ledger.com/start for setup
Keep your 24-word recovery phrase private
Never enter your recovery phrase into any website or app
Always verify the receiving address on your Ledger device screen
Beware of fake support messages and scam emails
Store your recovery sheet in a secure place
Following these steps makes your wallet nearly impossible to hack.
Final Thoughts
Ledger.com/start is the official and safest way to begin using your Ledger hardware wallet. It provides everything a new user needs—from software downloads to security guidelines and step-by-step setup instructions. When you follow the process correctly and protect your recovery phrase, your cryptocurrency stays safe, even if your computer or phone gets compromised.